

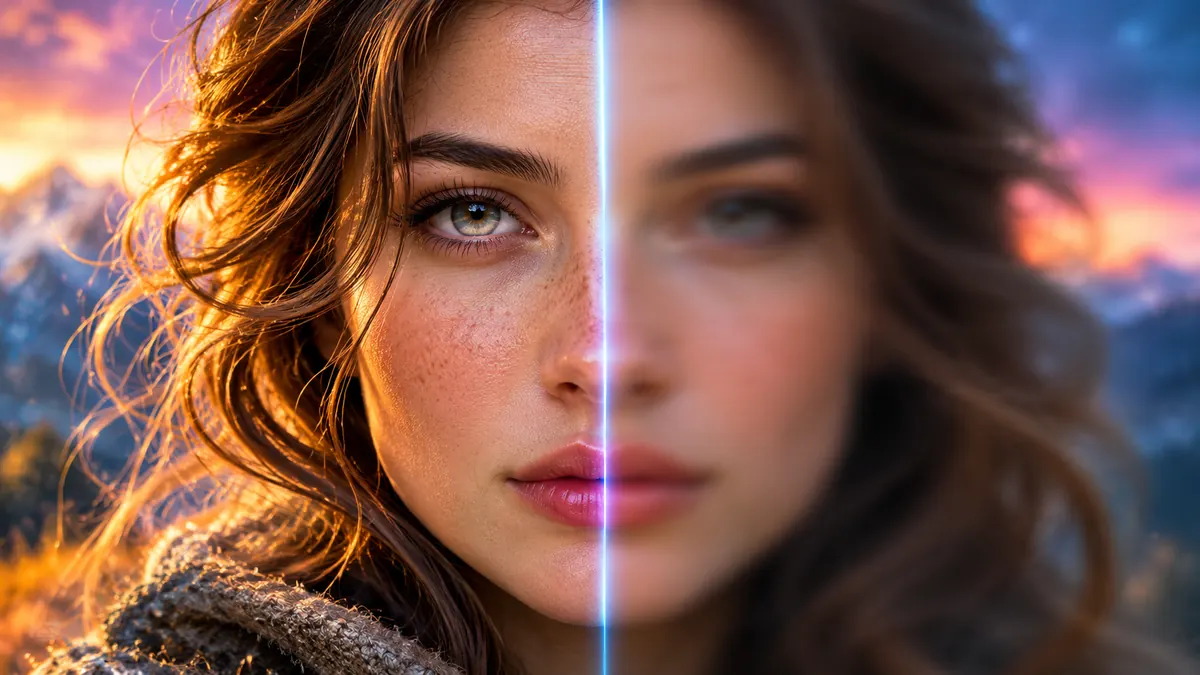
A blurry face is not always a resolution problem. Sometimes the subject is too small, the generator uses shallow depth of field, or the face changes during editing.
Quick answer: Zoom to 100% and compare the face with the nearest objects. If everything is soft, inspect export dimensions and compression. If only the face is soft, check whether the prompt requested a wide shot, motion blur, or shallow depth of field.
Why this problem happens
You need to distinguish intentional photographic blur from missing facial information. Enlarging a tiny face cannot recover details that never existed.
Step-by-step workflow
- Inspect the full-resolution original at 100% zoom. Check whether the blur affects the entire image or only the face.
- For a tiny face in a wide shot, generate a closer view with more facial pixels. Cropping an already blurry face makes it larger, not more detailed.
- If the face alone is soft, check focus, motion, and beauty-smoothing instructions before regenerating.
- Where supported, mask the face with a small margin and try a local edit. Compare the edited facial proportions with the original.
- For a blurred video still, choose a sharper source frame before attempting restoration.
A prompt you can copy and adapt
A sharp, natural waist-up environmental portrait of one adult standing near a café window, face clearly visible and in focus, realistic skin texture, soft window light, moderate background blur, no motion blur, no beauty-filter smoothing.
If the first attempt fails
If the image editor supports local editing, try the instruction below on a selected face region. It is an illustrative prompt, not a verified result. If the source face is only a few pixels wide, regenerate a closer view instead of expecting a prompt to recover missing identity details.
Improve the clarity of the selected face while minimizing changes to facial proportions, expression, age and lighting. Keep the surrounding scene unchanged. Use plausible natural skin texture; avoid plastic smoothing and sharpening halos.
Common mistakes to avoid
- Sharpening halos can make a face look more artificial.
- Face restoration tools may invent features and change identity.
- A wide shot with a very small face usually needs a closer generation rather than an upscaler.
How to verify the result
Compare eyes, eyebrows, nose shape, skin texture, and expression with the original. If identity drifts, revert.
Six causes to identify before editing
1. Small face: too few pixels describe the features. 2. Shallow depth of field: the face falls outside the simulated focus plane. 3. Motion blur: movement or a blurred video frame obscures details. 4. Over-smoothing: a model artifact, beauty filter or retouching removes skin texture. 5. Upscaling artifacts: enhancement changes or invents features. 6. Compression or preview quality: a small preview is mistaken for the original file.
Why sharpening is not the same as restoration
Sharpening increases edge contrast. It cannot reconstruct eyelashes, pupils, or facial geometry that were never captured. AI restoration may invent plausible detail, which is useful for some creative images but risky when preserving a particular person’s identity matters.
Example repair sequence
Imagine a portrait with sharp clothing but soft eyes. Save the original. Try a local face edit that asks for natural eye detail and preserves the existing expression. Compare the eye shape and nose at the same zoom level. If the person changes, discard that version and regenerate a closer portrait from the original reference instead.
Related practical guide
For a different anatomy problem, see our guide to repairing AI-generated hands. The same principle applies: identify the local defect, preserve a baseline, and compare the entire result.
What has and has not been tested
The image below is a reproducible demonstration of conventional Gaussian blur and sharpening, not a diffusion-model failure or a face-restoration benchmark. No controlled AI face-restoration or inpainting comparison was conducted for this article.
Which fix should you try first?
| What you see | Likely cause | First action |
|---|---|---|
| Everything looks soft | Low-resolution export or compression | Download the original at full resolution |
| Background sharp, face tiny and blurry | Too few facial pixels | Generate a closer framing or edit a face crop |
| Face soft, foreground sharp | Focus plane | Specify eyes in focus and moderate depth of field |
| Skin looks waxy | Over-smoothing | Request natural skin texture, avoid excessive enhancement |
| Identity changes after repair | Generative face reconstruction | Undo; use a stronger identity reference or keep original |
Which tool should you try?
For a small face: regenerate with a closer composition in your original image generator. For a localized defect: use an editor with a masked edit or inpainting feature, such as Photoshop Generative Fill or a supported regional-edit workflow in your image generator. For mild softness in a fictional character: a face-recovery feature such as Topaz Face Recovery may be worth previewing, but compare the result against the original. These are workflow options, not tools benchmarked for this article.
If your editor supports a reference image, supply the original character portrait and ask it to minimize identity changes. In advanced Stable Diffusion interfaces, inpainting denoise strength affects how far the edit can depart from the source; start conservatively and compare results rather than treating any single number as universally safe. Feature names and controls differ between apps.
How to make a local repair without changing the whole image
First save a copy of the original. If your editor supports masking or inpainting, select only the face and a small margin around it. Keep the rest of the image unselected. Work at the highest available source resolution. Use this illustrative instruction rather than claiming it has been tested here:
Improve focus and natural detail in the selected face only. Preserve the same person's facial structure, expression, eye shape, hairline, age, lighting and camera angle. Do not modify the background, clothing or other people. Avoid plastic skin and oversharpened edges.
Compare the edited version with the original at the same zoom. If the eyes become clearer but the nose, jaw or expression changes, the edit has not preserved identity. Revert instead of accepting a superficially sharper face.
When an AI face fixer is the wrong tool
Some face-restoration tools regenerate facial information. This can be useful for fictional characters, but it is risky for photos of real people or any image where exact identity matters. NightCafe’s official Fix Faces guide explicitly warns about recognizability changes; Topaz likewise notes that Face Recovery may remove detail from already high-quality faces. NightCafe documentation · Topaz documentation.
For the related problem of a global edit changing unrelated objects, read why ChatGPT changes the whole image during editing. For a more consistent source portrait across scenes, see our character-consistency guide.
Visual example: why sharpening cannot fully fix a blurry face
We created a controlled comparison from an original AI-generated editorial illustration. It demonstrates conventional pixel blur and sharpening, not diffusion-model facial artifacts or an AI face-restoration test. On a phone, open the image at full size to inspect the facial detail.
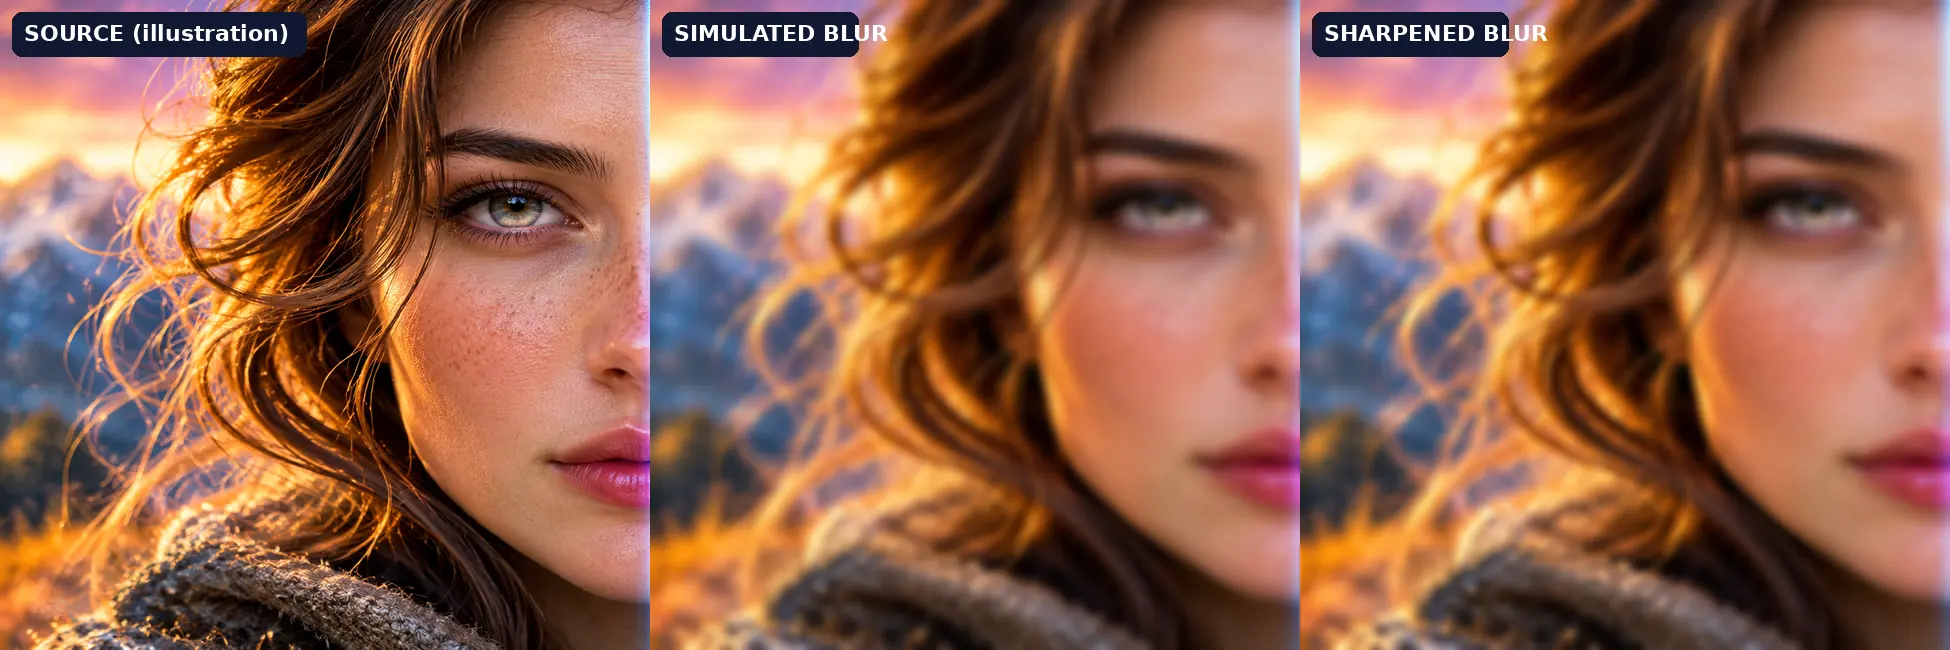
Exact method: We cropped the sharp half of our generated portrait illustration and resized it to 650 × 650 pixels using Lanczos. We blurred that copy using Pillow’s GaussianBlur(radius=4.5). We then applied UnsharpMask(radius=2.0, percent=190, threshold=2) to the blurred version. The original crop was kept as a reference. One blur setting and one sharpening setting were used; we did not run multiple candidate attempts or any paid AI tool.
What to learn: The sharpened copy can increase edge contrast, but cannot reliably reconstruct the eye, skin and hair information discarded by blur. If the face is important, return to a better source image or try a localized generative repair while checking identity against the original. Generative restoration can invent plausible details; do not mistake them for recovered ground truth.